Download Brochure
During this semester students will be working on assignments based on a thorough and comprehensive approach to the fashion industry and they will be constantly encouraged to develop their creative concept ideas and business acumen.
Students will have the unique opportunity to learn the basics of fashion business through the enhancement of either their creative, conceptual, practical skills.
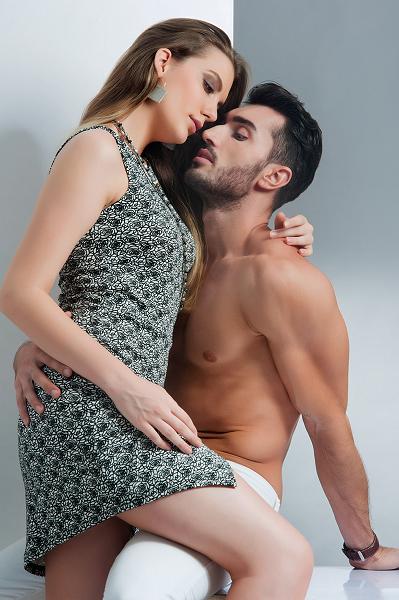
Students will learn how to understand the fashion industry and develop a creative eye. The Fashion Photography course aims to raise the standard of the creative portfolios and to perfect the analysis of the world of fashion of those who are planning the development of a career in fashion.
The role of the contemporary fashion photographer is shifting. The photographer must now understand the progression of the subject and the growing connection between the still and the moving image.
The course is suited to those who see the world of fashion as a career opening and opportunity.
Students will apply the technical and cultural content delivered during their training to the proposed projects in the studio, learning to negotiate and plan in detail the implementation of a photoshoot. By the end of the Fashion Photography course, the students will learn how to express their ideas and concepts professionally.
-

-
Fashion Photography
Fashion photography — in the form of magazines, books, advertisement campaigns, billboards, and online — has a great influence. In this course, you will learn the technical aspects of fashion photography, whilst exploring images from haute couture to street style, from advertising campaigns to designer look-books, from art gallery to shop window and from fanzine to glossy magazine, and develop an analytical and critical view of global style and the cultural landscape of the fashion industry. You will experience location and studio shooting, using the excellent photography studios within the College, and you will explore digital image production and manipulation.
History of Fashion Photography
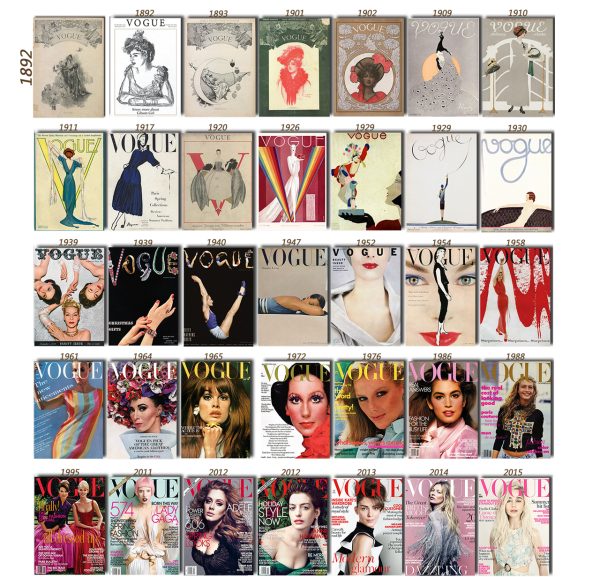
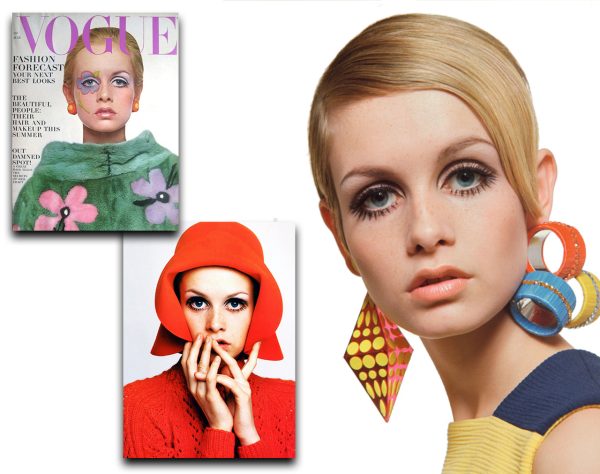
The precursors of fashion photography go back to the eighteenth century when images of fashionable clothes were printed in magazines and black & white pictures were often hand-colored. This kind of photography started to be known thanks to the rise of fashion magazines, such as Harper Bazaar (1867) and Vogue (1892), which used photography to present clothes to the large public of readers. In 1970-1980 the pret-a-porter exploded.
VOGUE- bible of fashion industry.
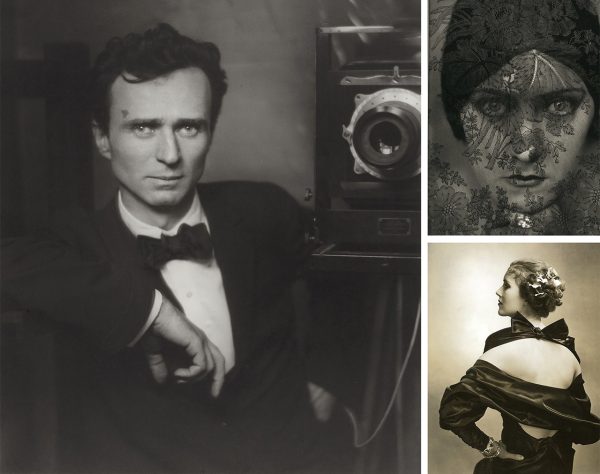
The magazine has been published since 1892. It was also the first magazine to print color images in 1932. Vogue launched some of the greatest fashion photographers: first of all Adolphe De Meyer, who is also considered the first fashion photographer.
-

-
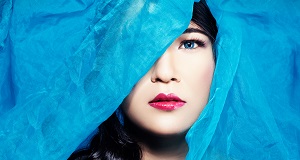
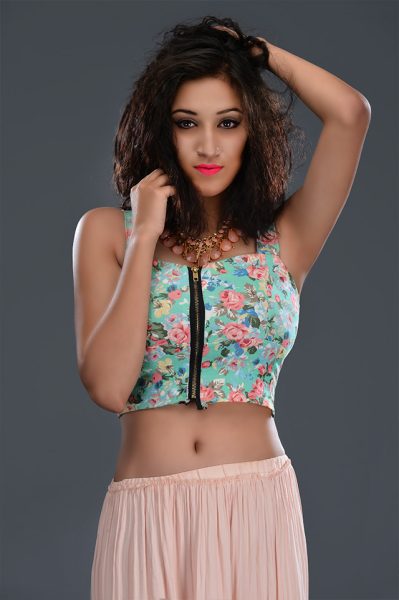
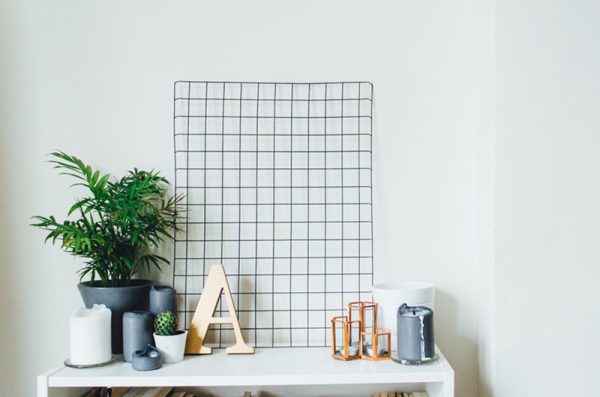
Studying Various Fashion Styles
What are types of fashion styles?
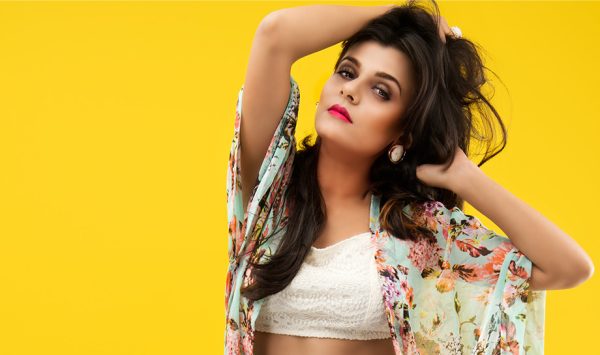
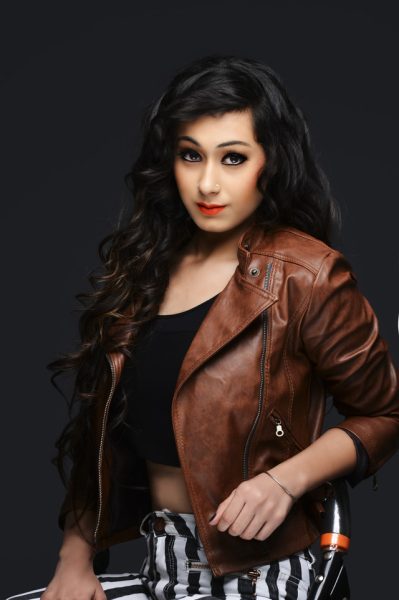
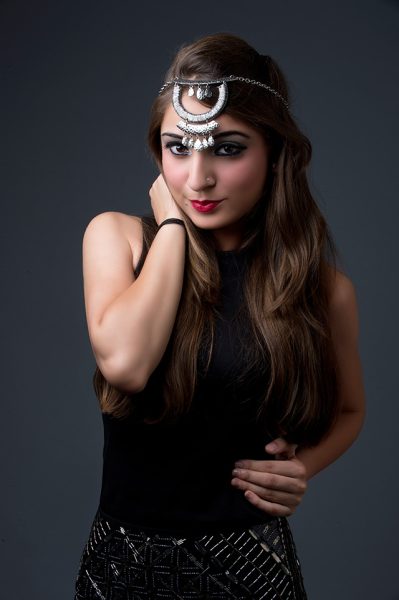
Fashion styles are a commonly misunderstood idea, which is less complicated than it often seems. In reality, understanding different types of fashion styles can actually simplify your shopping and apparel. All apparels are grouped according to similarities in the pattern, fabric, style line, and color. These types of fashion styles can create looks that convey common themes. Fashion style generally refers to the groups of personality traits, which also match specific fashion themes. Fashion style is like a character sketch that describes a personality out of a fashion theme. With our Fashion Photography course, students will learn types of fashion styles which is the must for someone planning to pursue a fashion photographer’s career.
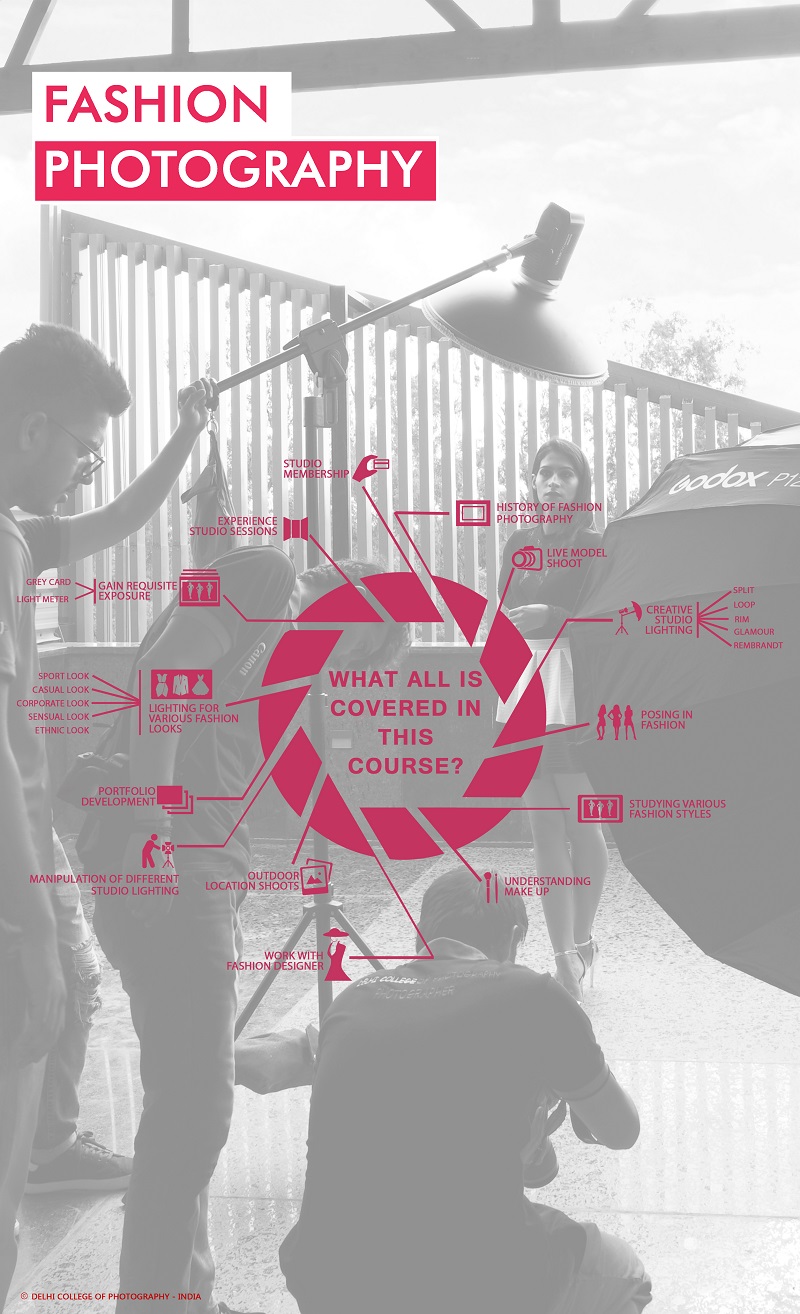

 Introduction to Fashion Photography
- Using studio lights, reflectors, umbrellas, soft-boxes, beauty-dish, light-meters, grey card, honey-comb in fashion photography
- Creative studio lighting & glamour lighting
- Studying various fashion styles by working with fashion designers
- Understanding make up with professional make-up artists
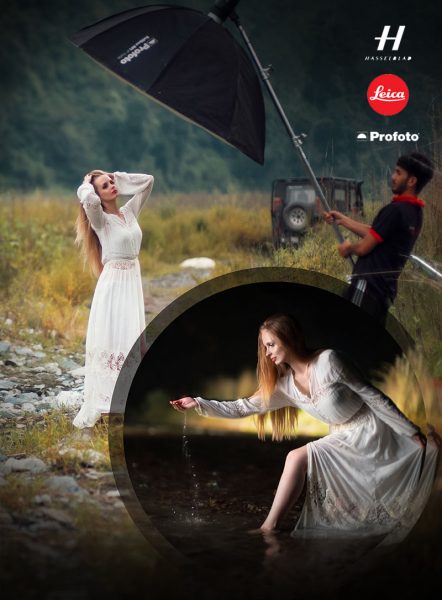
- Outdoor location shoots with the team of professional models, makeup artist, and fashion stylists
- Experience studio sessions, shoot models and gain requisite exposure enhancing your artistic sense of reciting your own definition of fashion
- Understanding how manipulation of different studio lighting can give different effects
- Learn basic lighting for various fashion looks/ethnic look/bridal look/ western look/ casual look/ corporate look/ sporty look/ sensuous look
- Types of Lighting (Butterfly/glamour lighting, Rembrandt lighting, Loop lighting, Rim lighting)
- Understanding shadows (hard & soft shadows)
 Outdoor Lighting
- Posing in fashion
- Grey card
- Digital Light meter
- Use of Reflectors
- Difference between Hard light & Soft Light
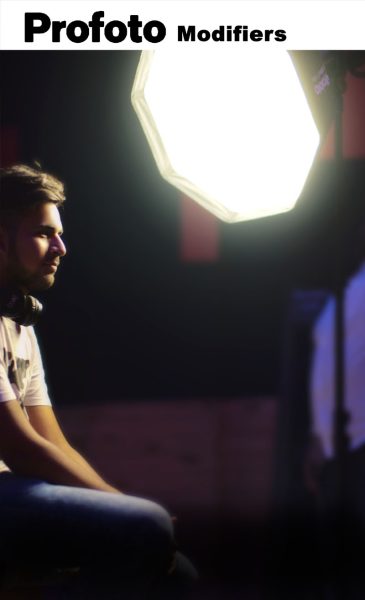
- Different types of Modifiers
- Shooting with external lights to achieve better and more dramatic results during outdoor shooting.


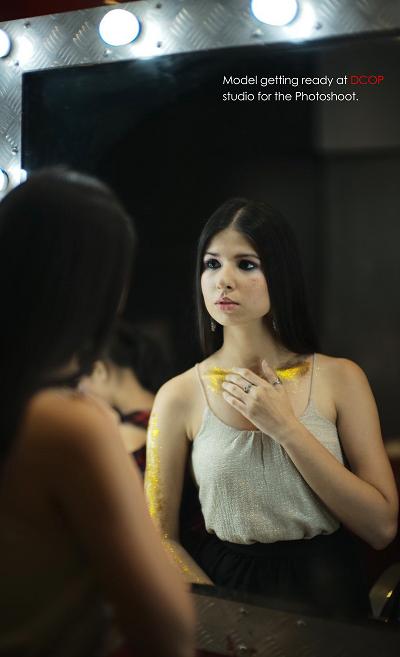
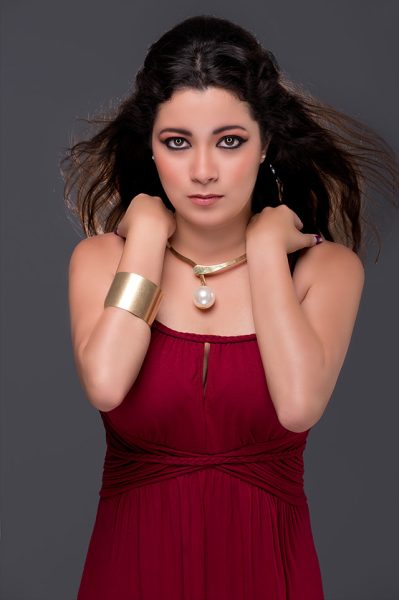
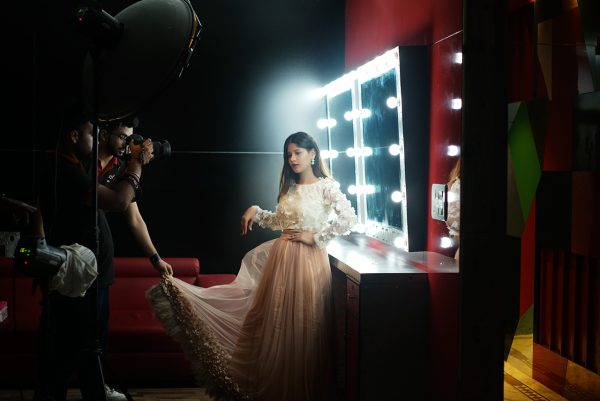
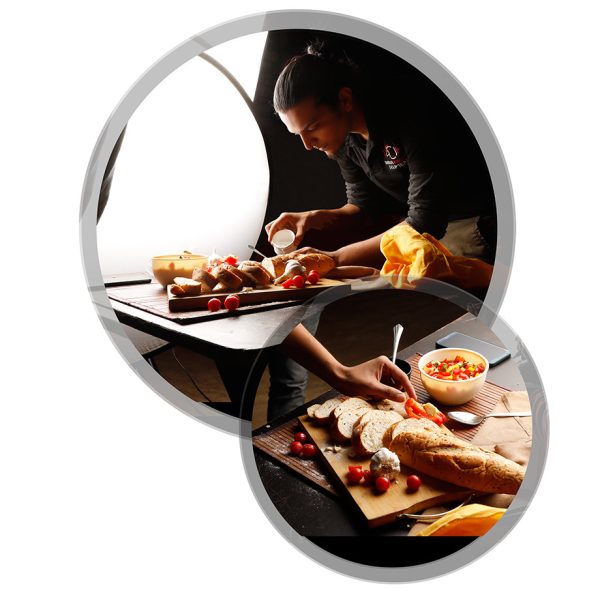
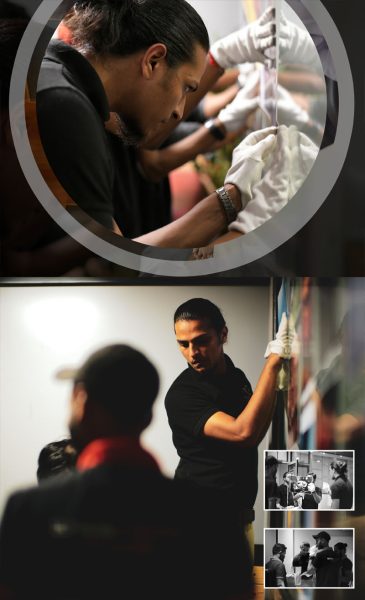
We often hear how much makeup can impact the final result of a photoshoot. It can either make or break a picture depending on its quality. A great makeup artist can save you tons of time in post-processing while a bad one will add many hours to your job. However, working with a great makeup artist doesn’t necessarily mean you will get what you need. If you cannot communicate properly, his work might not suit you, and neither will the resulting pictures. Educating yourself on some of the makeup basics can save you from this kind of situation.
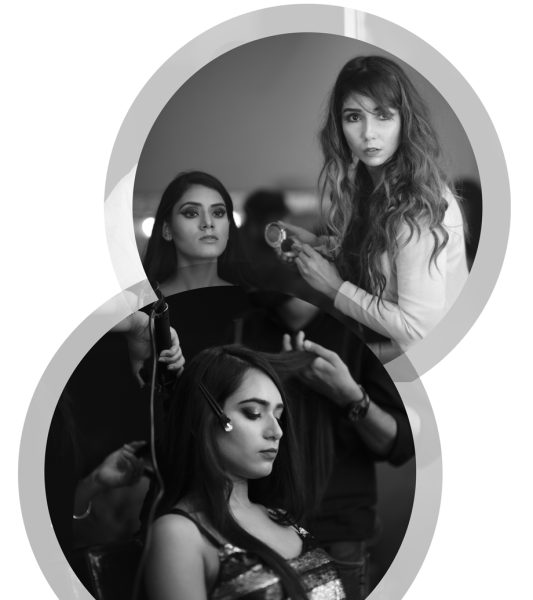
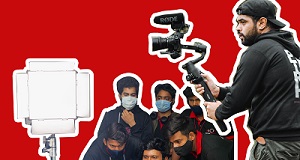
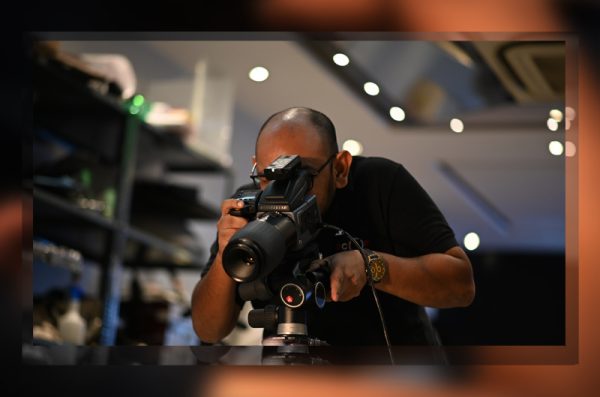
Model getting ready at DCOP studio for the Photoshoot.
-
-
Types of lighting

-
-
Studio Indoor Shoot
When one shoots inside a studio there are multiple factors to be taken into account. It starts right from preparations, setting up the lights, differentiation between multiple lights, choosing the key and fill, synchronizing these lights, using the right modifiers, etc.
Apart from using multiple lights, one has to learn how these lights work, how to diffuse the light if too much and how to cut the light to get more control over any specific region, etc.
-
-
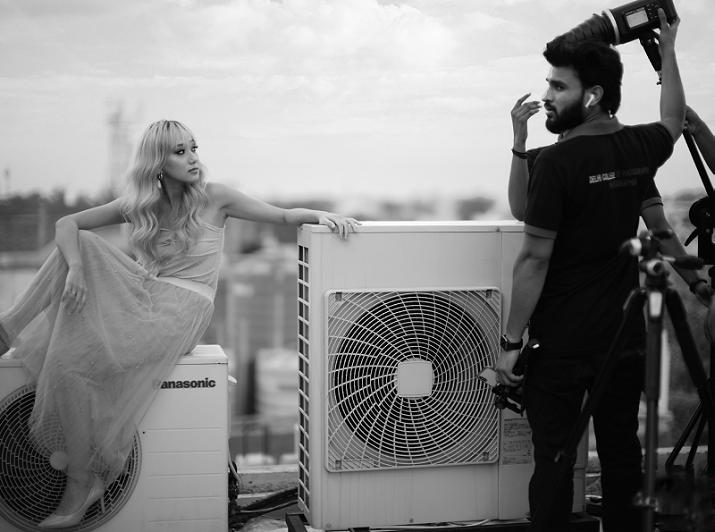
Outdoor Shoot
Shooting in a studio and shooting outdoors are poles apart. When one shoots inside a studio, the setup and lights are totally under the control of the photographers but when shooting outdoors one has to balance the already available light along with using external lights and modifiers.

-
-
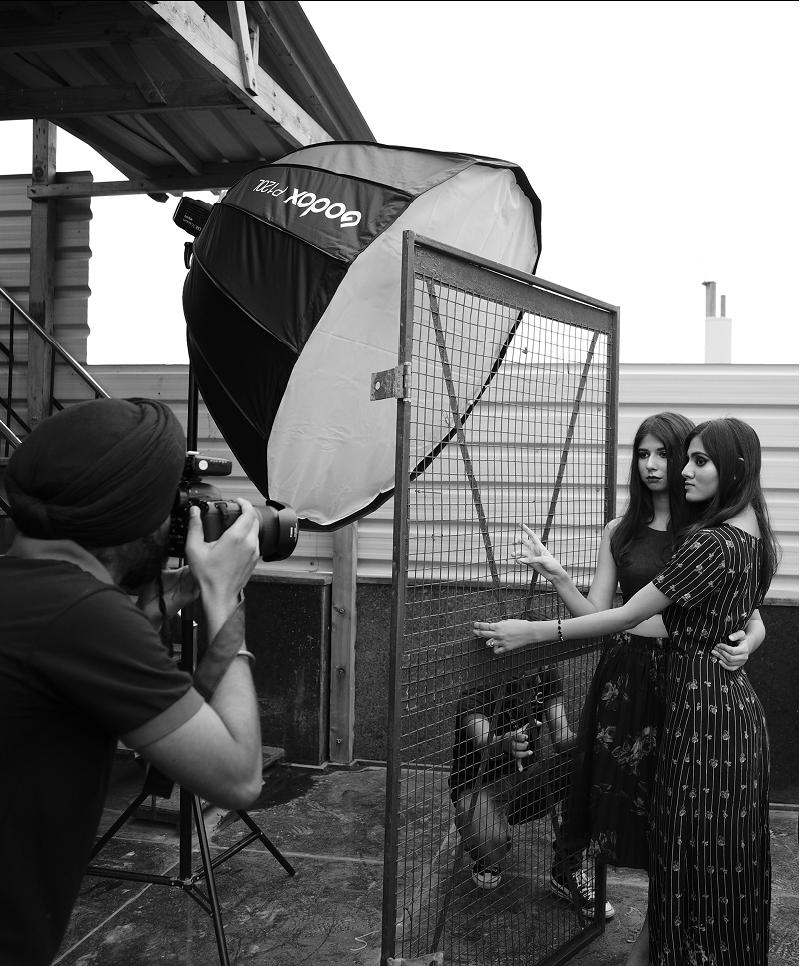
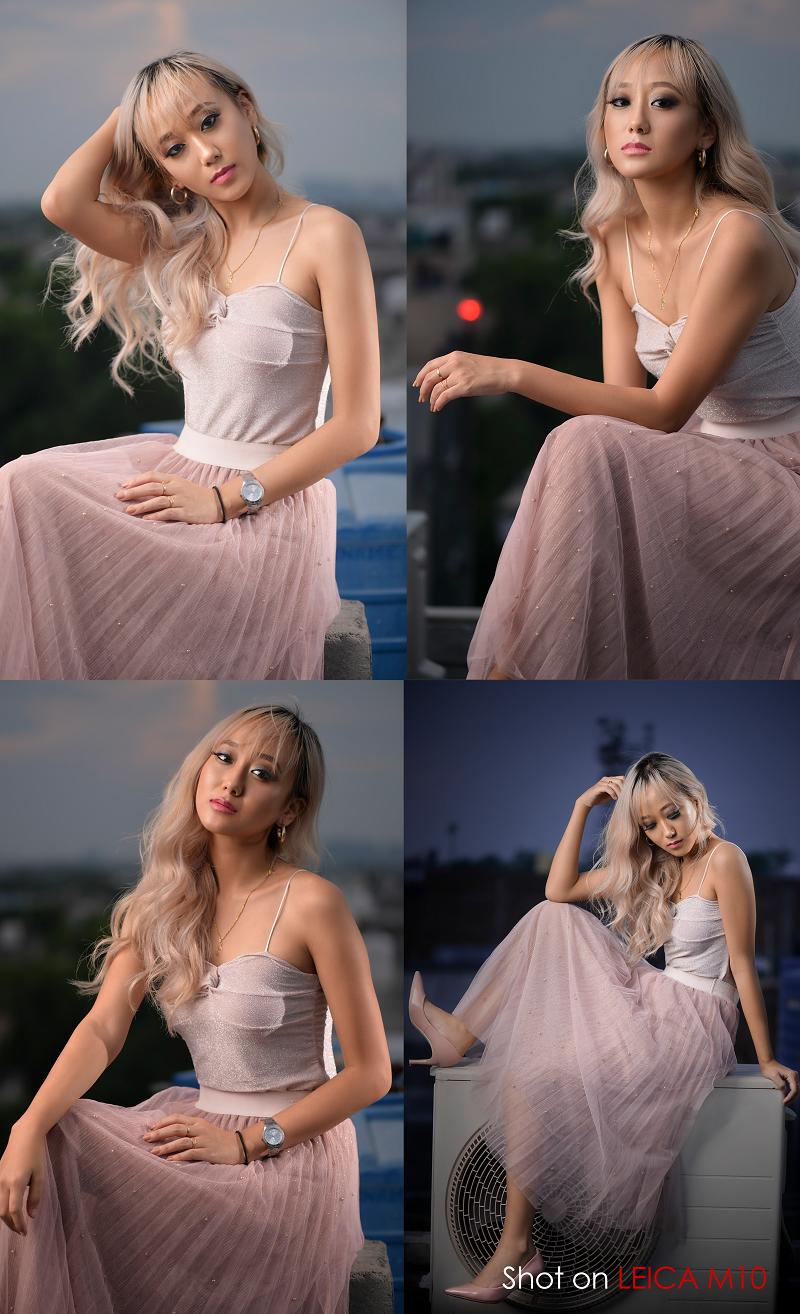
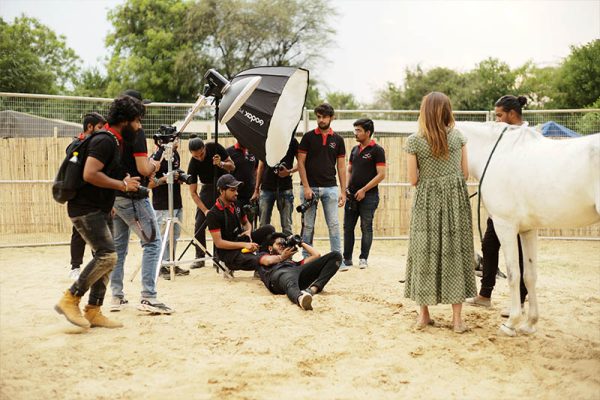
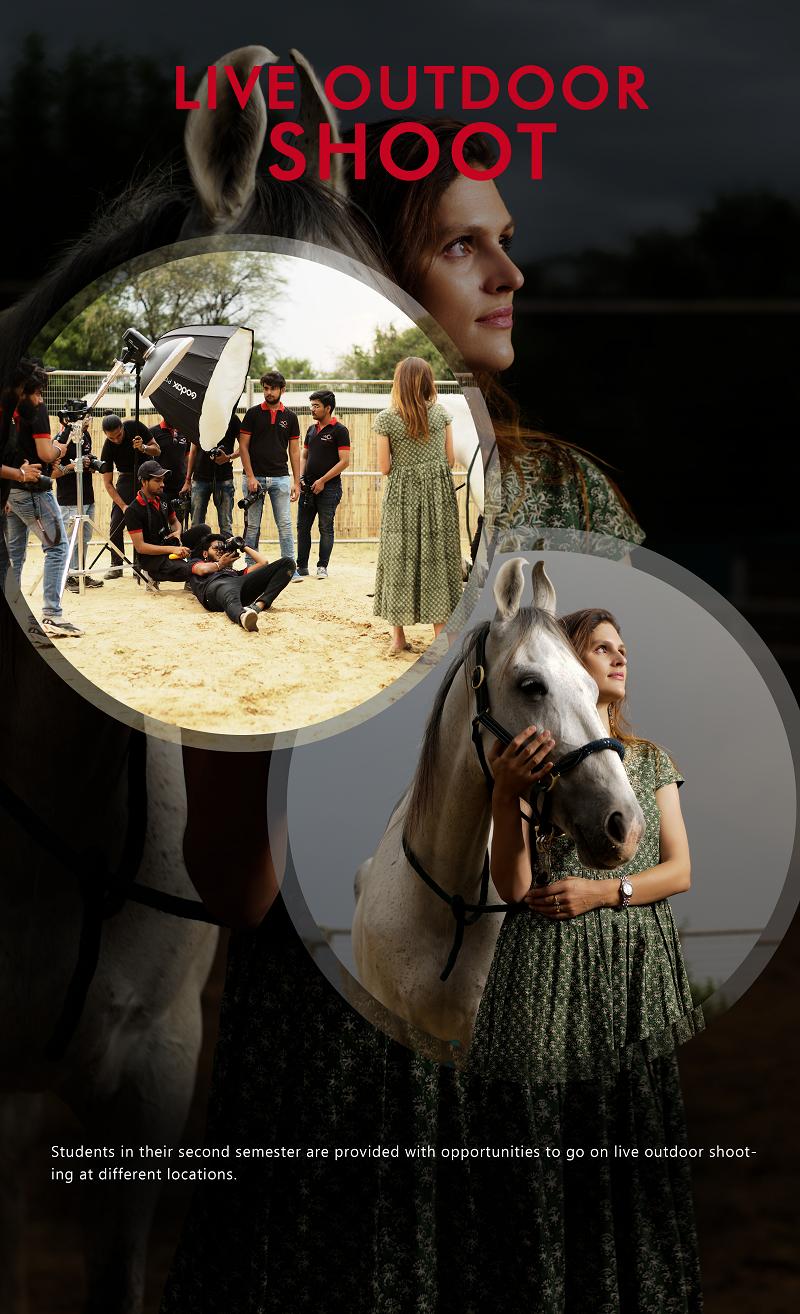
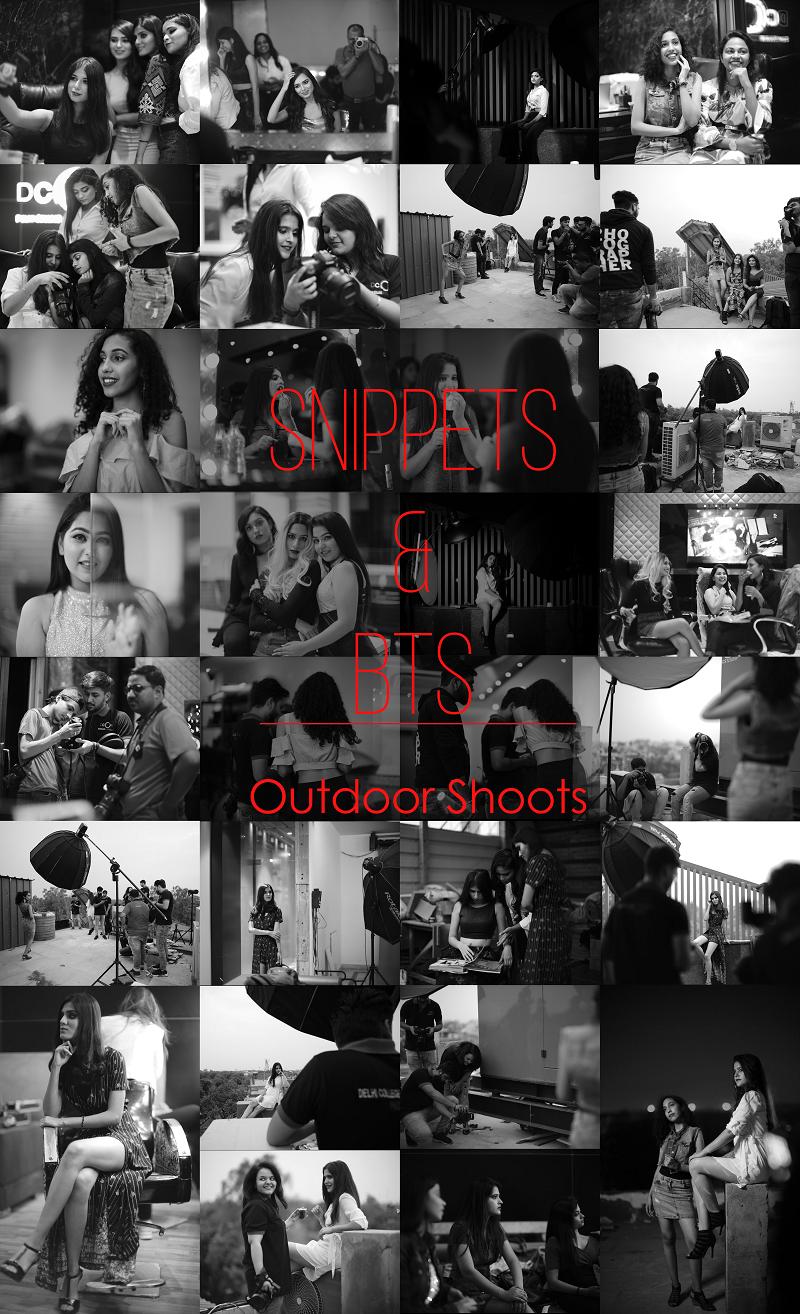
Outdoor Location Shoot

The students are taken on regular outdoor shoots and on-location to give them hands-on experience on how a commissioned outdoor shoot is executed.
They are told about various lights and modifiers that are used on such shoots and a constructed brief is given to them in order to achieve world-class imagery.
-
-
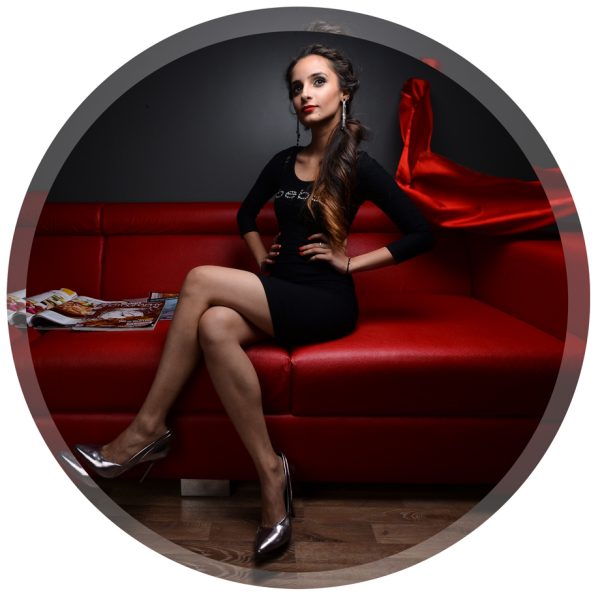
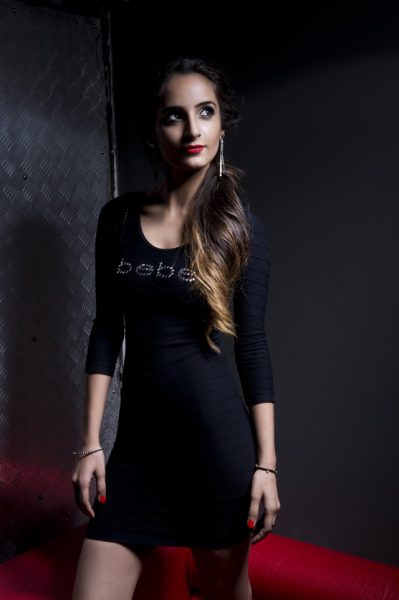
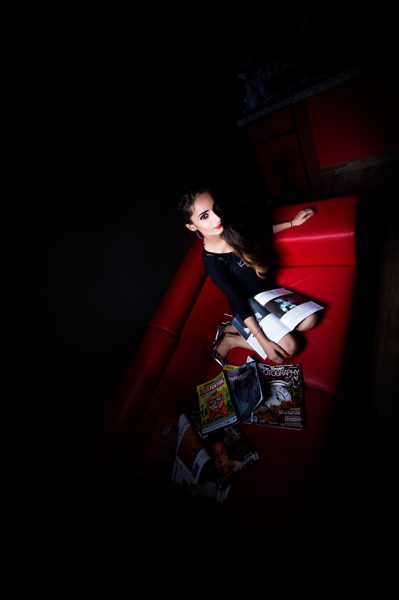
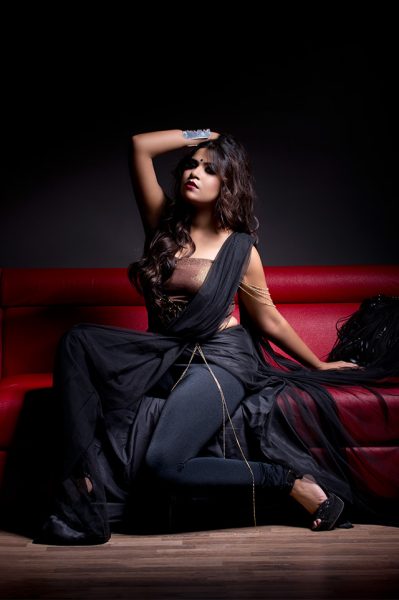
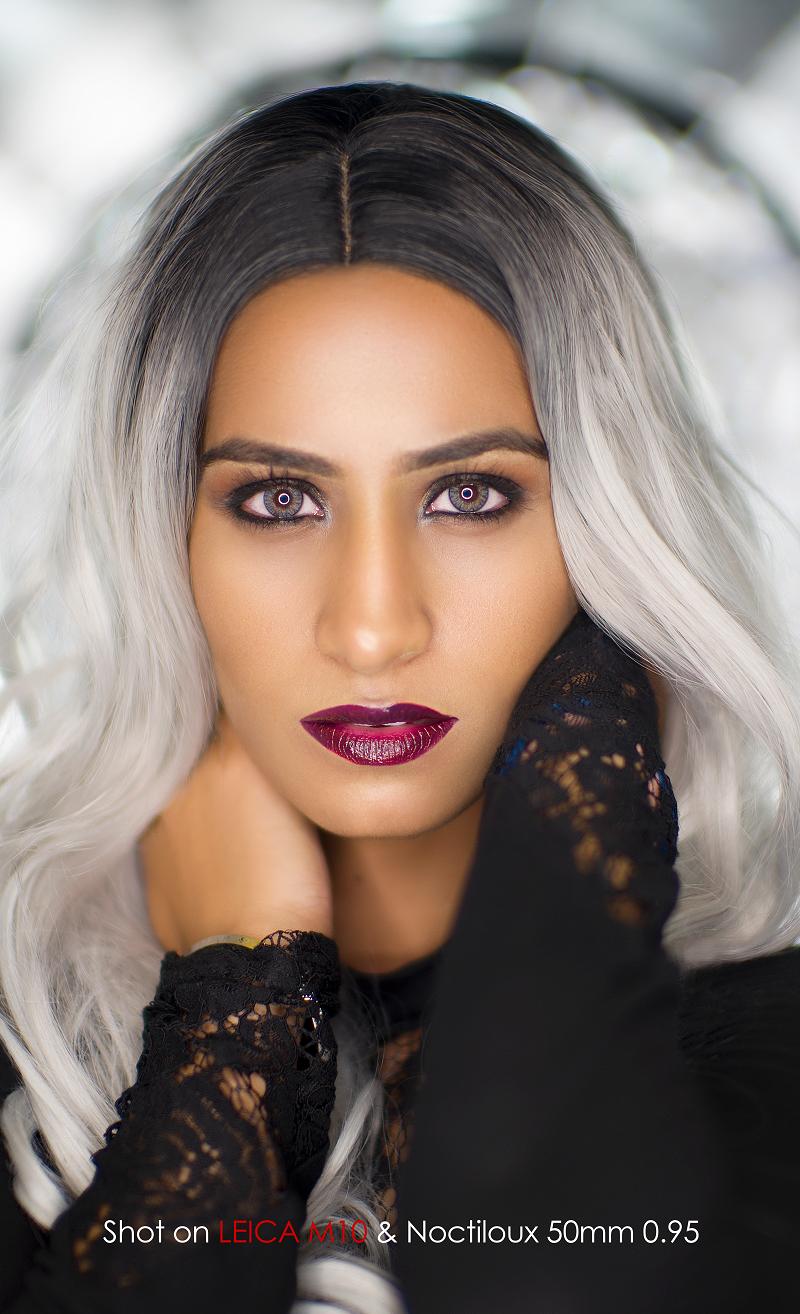
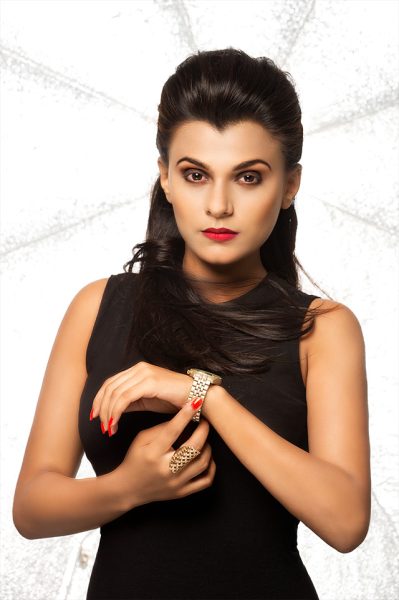
Live Model Shoot
Shooting a model is considered a staple for most photographers. Models are photographed for portraits, advertising, etc. Fashion Photography course is a great way to gain experience and practice live model photo-shoot.
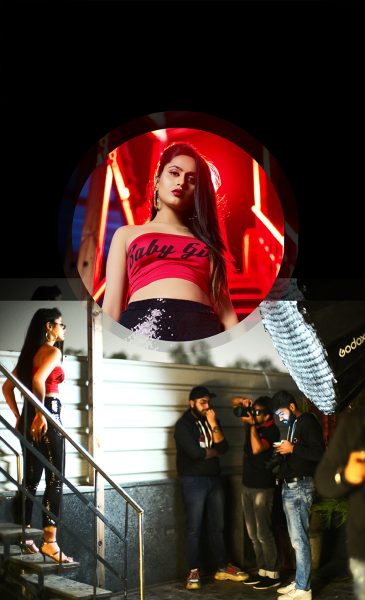
Shoot with the winners of Beauty Pageants during blue hour.

-

-
Gray Card
A gray card is a flat object of a neutral gray color that derives from a flat reflectance spectrum.
A grey card is designed to help photographers to adjust their exposure and white balance settings consistently by providing a reference point.
This reference point will set a white balance, or color balance, point for a particular image set and all images captured thereafter.

-
-
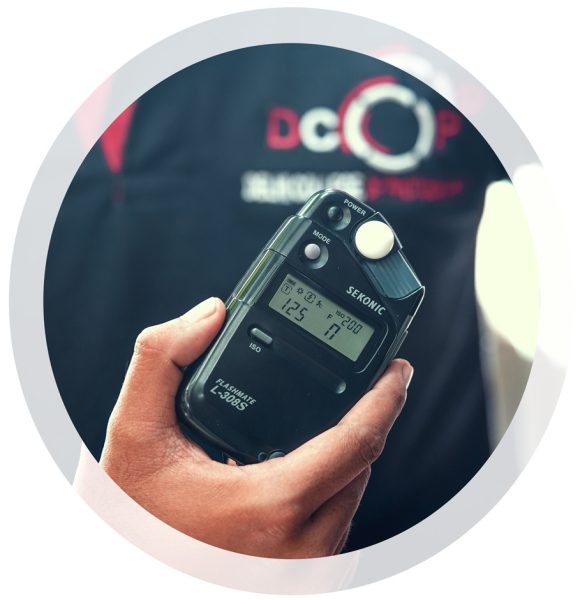
Digital light meter
A light meter is a device used to measure the amount of light. Typically a light meter will include either a digital or analog electronic circuit, which allows the photographer to determine which shutter speed and f-number should be selected for optimum exposure, given a certain lighting situation and film speed.
A digital light meter enables a professional photographer to control the following:
-The low-light capability of a camera; better than the built-in light meter.
-Flash readings for managing multiple lights and better synchronization between keys and fills.
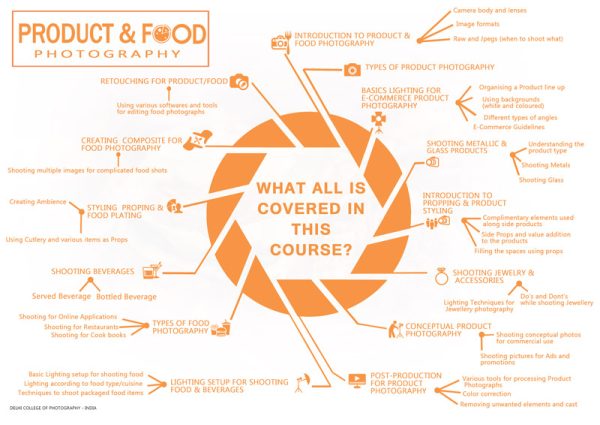
PRODUCT & FOOD PHOTOGRAPHY COURSE
-
THE KEY TOPICS OF PRODUCT & FOOD PHOTOGRAPHY COURSE
 INTRODUCTION TO FOOD AND PRODUCT
As various other genres of photography, food and product photography have also evolved with time. There are various types of food and product photography and all of them require a different kind of preparation, execution, and post-production. The idea is to first understand where food and product photography stand against various other types of photography.- Idea creation and pitch making
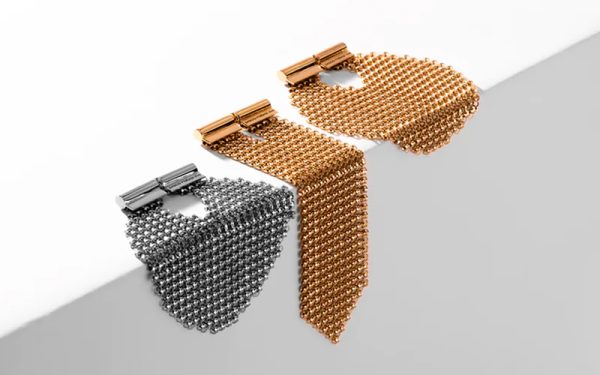
If there is any specific kind of product or food, for example, a jewelry collection or any location-based cuisine; how to shoot them in a connecting series and what elements to keep in common while shooting them plays an important role. Coming up with ideas to shoot them and pitching them to the clients is equally important as any other stage of the photographic process - Jewelry Shooting
Shooting jewelry is as tricky as it can be. Whether you are shooting jewelry for cataloging or you are creating an ad campaign, shooting jewelry can be a tedious job. The size of the product, the quality of the jewelry, its textures and elements, all of it plays a crucial role. Shooting jewelry is a task in itself. - BASICS LIGHTING IN FOOD AND PRODUCT
There are various categories in this type of photography itself, understanding what light is good and what light isn’t used at all while shooting these items or commodities is equally important. There are basic lighting styles to shoot them for online selling and there are more complex lighting styles to shoot them for magazines or advertising. - Catalog photography
Catalog photography is done to show a series of a product on any platform, be it for selling it on E-commerce or for presenting them to clients for any organization or any magazine. For food photography, the same could be done for online food delivery applications or menu designing. These are shot against a simple plain background and not much of propping is required for catalog shooting. - Conceptual shooting
Banner shooting and campaign shooting go hand in hand. Both of such shooting techniques require pre-planning, propping, background selection, lighting styles to be decided beforehand. A mood board can also be made to make the workflow easier and more efficient. Conceptual shooting also lets the photographer have a decent degree of creativity & liberty and hence it can be much more rewarding in terms of final output and could be mutually beneficial for both the client and the photographer. - Requirement and equipment
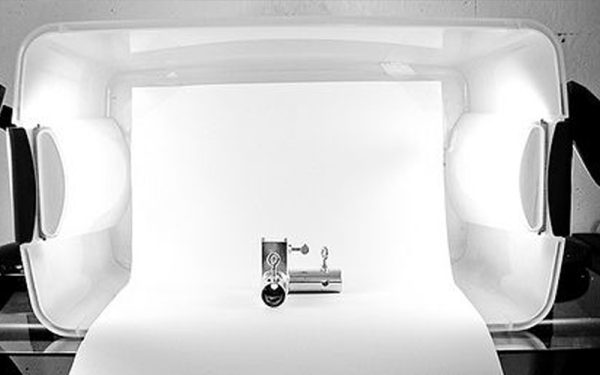
Shooting these products requires pre-planning, execution, and post-production. There are props required, backgrounds and a lot of miscellaneous items to shoot both food and product differently. These requirements and equipment are also the very product or food item based. - E-commerce shootng using a lIGHT cube
This is the most common and widespread used technique to shoot products for an e-commerce platform. A light cube box comes in various sizes, depending upon the product one can choose from many sizes available. A light cube box diffuses the light and makes it uniform from all sides to prevent uneven highlights and reflections. It also helps to remove any shadows that are falling on the product due to uneven light conditions or shape of the product. - Product/food styling
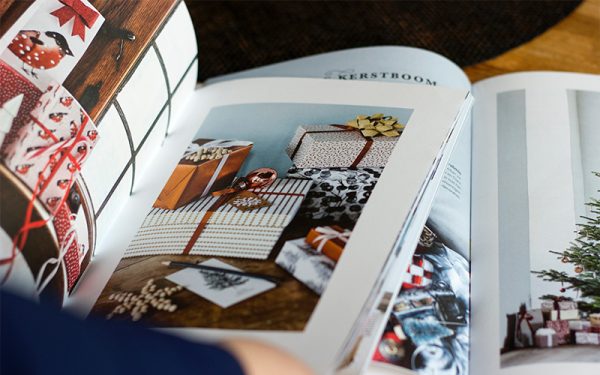
What should be the style of photography, lighting style and how to shoot, additional elements to include, locations to choose, background, propping, etc. are all included in styling. For example, if one is trying to shoot a cuisine, what all elements are to be included, how the plating would be done, what additional elements could be used, the cutlery to be chosen, what should be the side props and so many other things come into picture. Procuring everything before a shoot is as important as shooting it and styling lays the foundation of how a shoot would proceed further on. - Preparing a look book
Look books are designed to show how a collection of products or food items for any campaign comes together. Making a look book is an interesting way to showcase a collection of items being photographed. A look-book can be project-based and could also represent the entire product line for specific companies. Right from elements to include, fonts to choose, picture size and resolution everything comes into the picture. - Banner shooting
The banner shooting of products or food is usually done when they are to be printed on the boards or are going to be used for advertising them on magazines or any online website or web promotion. These shots are usually conceptual, they require some pre-planning depending upon the type of product or category they belong to. Gathering of props and selecting backgrounds, creating a mood board and various other things comes in to picture for such kind of photography. - Retouching
Shooting just photographs of food and products may not be as appealing as it can be. Processing them takes these photographs a notch up. Various techniques are required even in food and product photography to make these pictures look better. In this, we study and practice various software and tools required to make these photographs look better and remove any error in the pictures that are made during shooting.


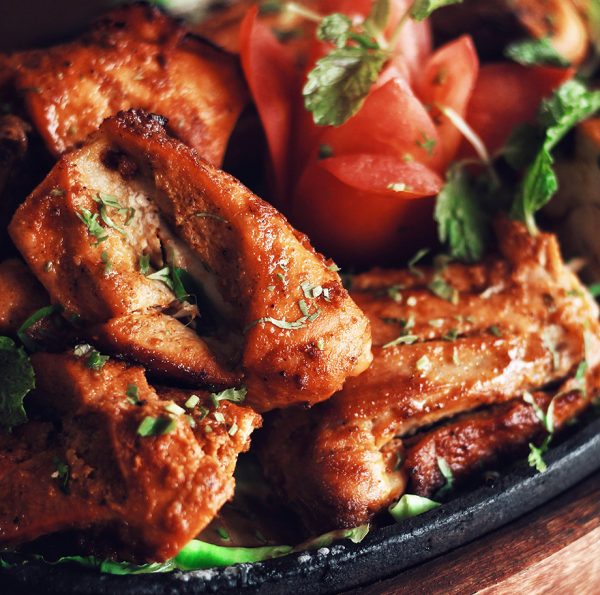
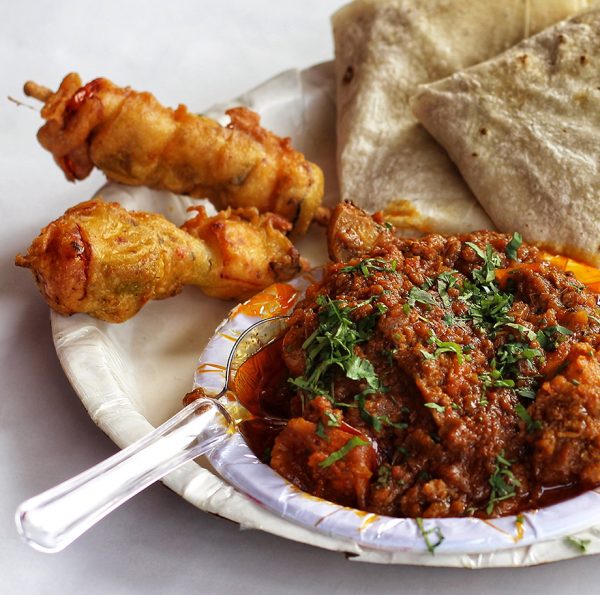
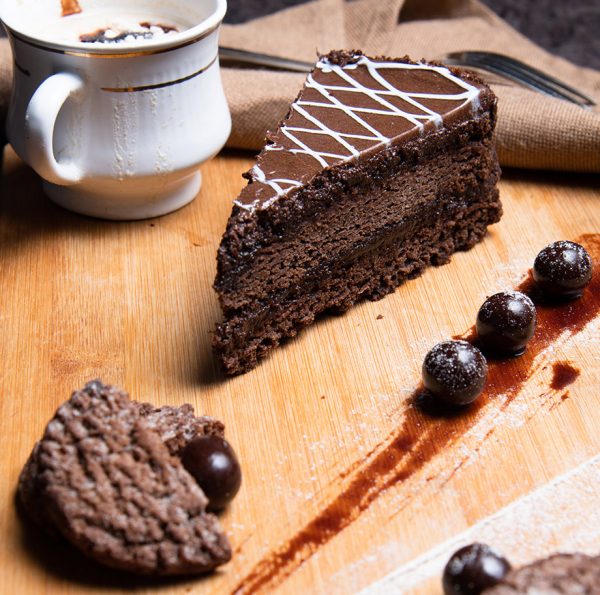
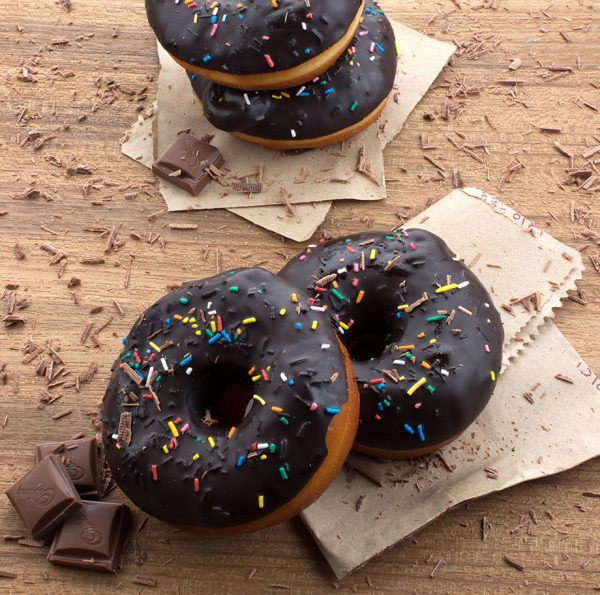
As various other genres of photography, food photography has also evolved with time. Various kinds of food photography are carried on for several purposes and all of them require a different kind of preparation, execution, and post-production. The idea is to first understand where food and product photography stand against various other types of photography and gradually learn and practice this for different outputs, under different conditions.
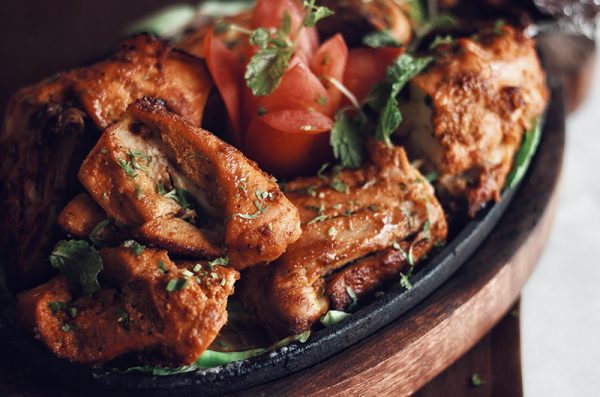
Food photography is shooting photographs of food and beverage items for any client. The client could be a restaurant, a resort or any online food selling platform. There are various ways of shooting any food item, forex. you may shoot photos with plain background for any online selling platforms or you could be shooting high-end photographs with a lot of elements according to the demand of the project.
Shooting food is tricky as there are various types of food items that look very different, you have to bring out the texture of the food and so much more.
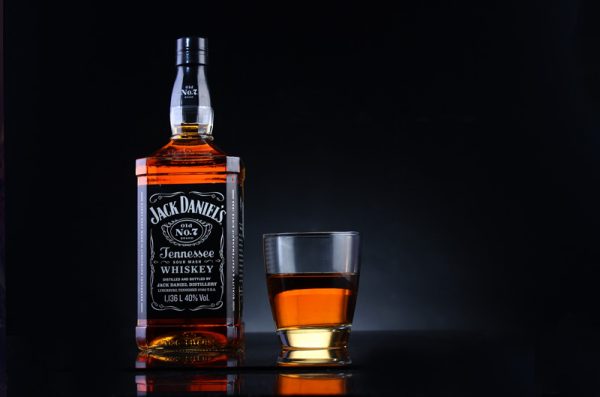
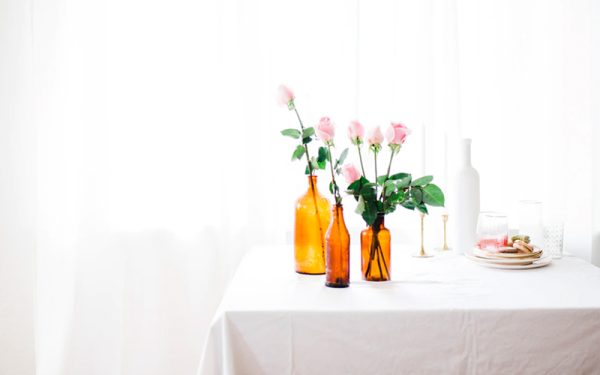
Beverages come in different packaging. The usage of these beverages depends from industry to industry.
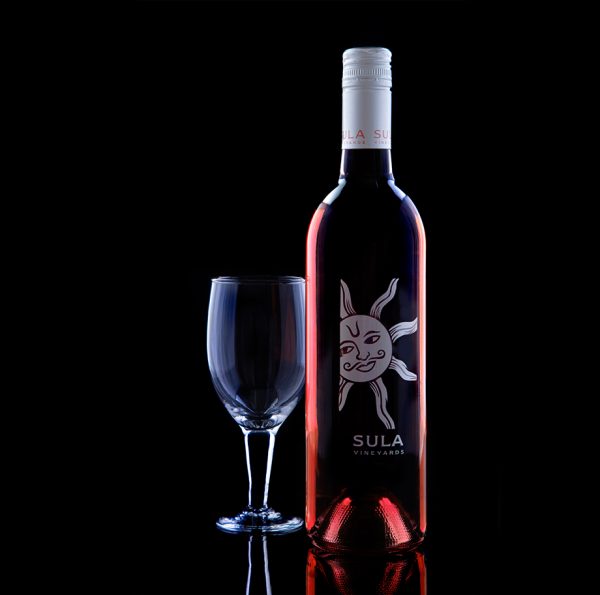
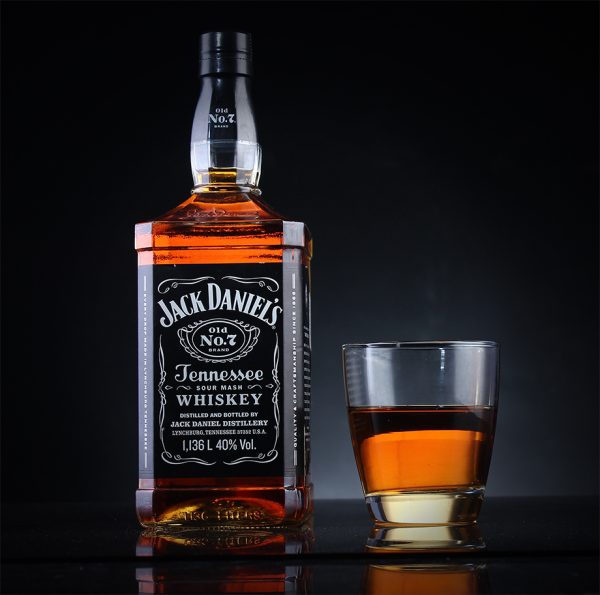
For example, there are alcoholic beverages that require stylized shooting, similarly, there are juice bottles, milk or any type of consumable liquid.
The shooting techniques required for a beverage is very difficult since the shape of the bottles vary and so does the highlights and shadows in the edges and curves of various products.

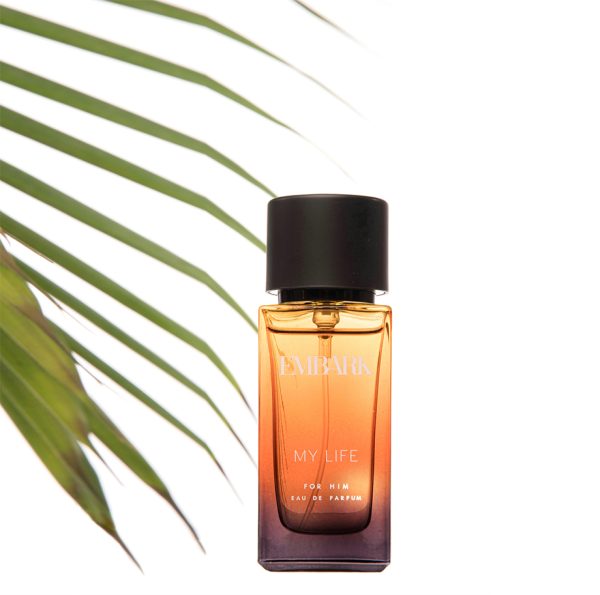
Different products have different packaging, they are usually made up of different elements, and are usually shot using different lighting setup and different techniques.
The metallic product reflects a lot of light whereas glass products are highly reflective therefore it is required to place the lighting right and use the right techniques.
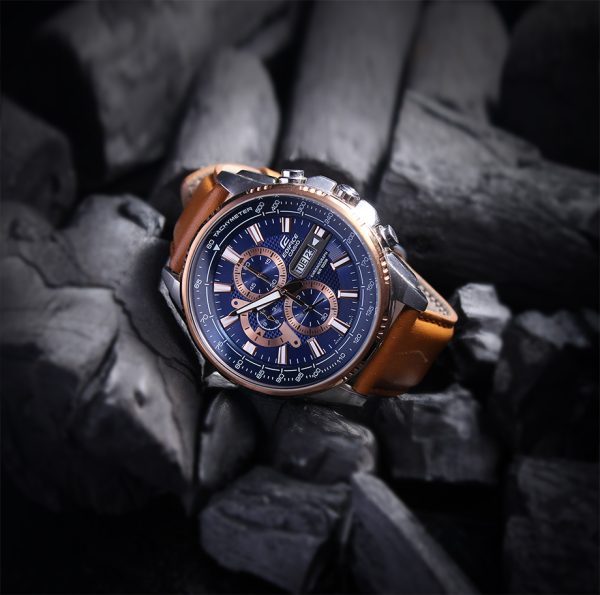
Product photography is a type of photography, which accurately and creatively shows a product attractive in advertising. Commercial photography is another term referring to advertising and marketing as it is intended to promote and sell a service or product.
Whether you are shooting a product for being used in the billboards or you are shooting a product to be used as a catalog for any E-commerce website, product photography requires a lot of practice and knowledge of various light setups to be used under different situations as per requirement.


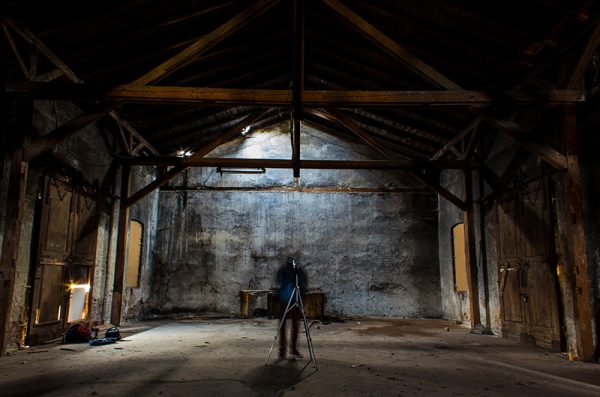
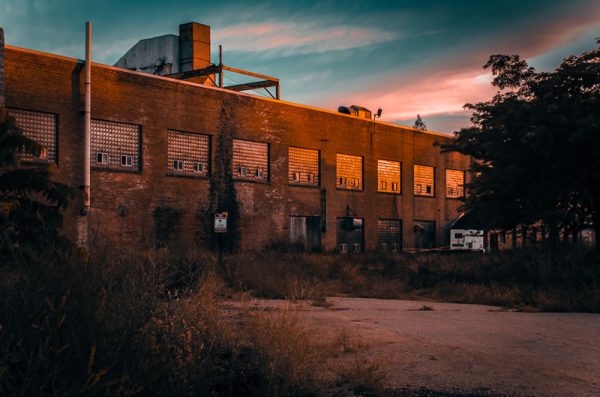
Interior And Architecture Photography
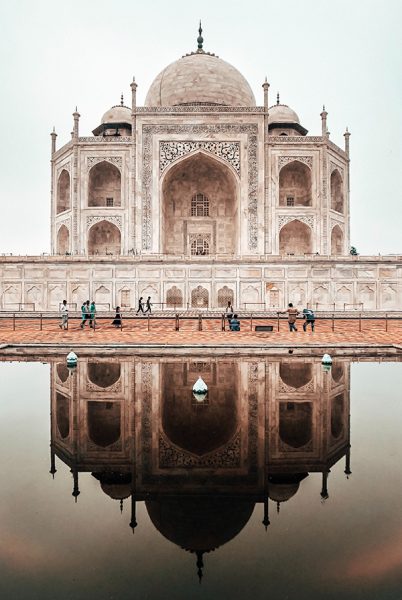
Architectural photography is taking photographs of buildings and similar structures that are both aesthetically pleasing and accurate representations of the overall space. It could be a monument, real estate, hotel, a cafe or any resort.
Interior photography, on the other hand, is an integral element of architecture photography to depict exactly how any place looks from the inside.
-
-
Finding the right location (Recce)
Recce is the first step to get good interior architecture photographs. Before we start shooting it is important to learn what kind of lighting the place gets and what is the best time to shoot during the day.
If one has to use any external lights how are they going to be positioned and how to floodlight in a huge space are few things. One can be better prepared if they do a proper recce.
-
-
Understanding light
Different kinds of light are required by different architecture according to their structure, size, lines, space in and around, etc
Light can be utilized to show a structure in its best form. It can glorify the structure and bring life to it, help the photographer to show the place’s grandeur both outside and inside.
Using external lights to fill light in unevenly lit areas, add more drama and create visually pleasant photographs.
-
-
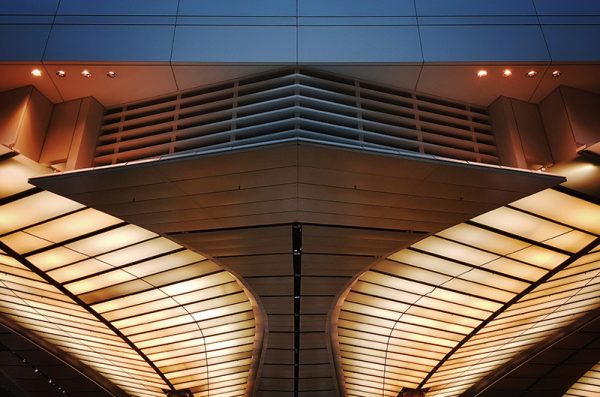
Types of angles
There are multiple angles a photographer can use to show the essence of any space.
Finding the right angle isn’t a very easy task, to show the whole area in one photograph is an important fact to consider.
Different orientation also plays an important role. Shooting a photo in horizontal orientation helps to show the width of any space while shooting in vertical orientation would show the height of the same space.
-
-
Equipments
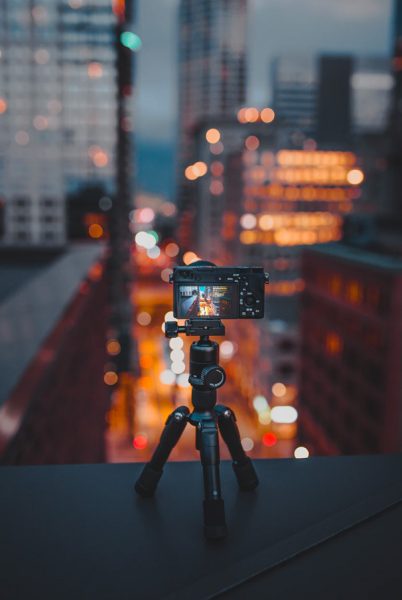
All Interior and Architecture photographers must have a camera, a wide-angle lens, and a tripod. Apart from these equipment, they carry a few filters and some external lights so they can try interesting and unique ways to shoot the same place but with more drama.
For this course, all you would require though is a camera, a wide-angle lens, and a tripod, nothing else. For processing, however, if you have a laptop it would be an advantage but while you are learning processing techniques you can practice yourself too.
-
-
Shooting in low light

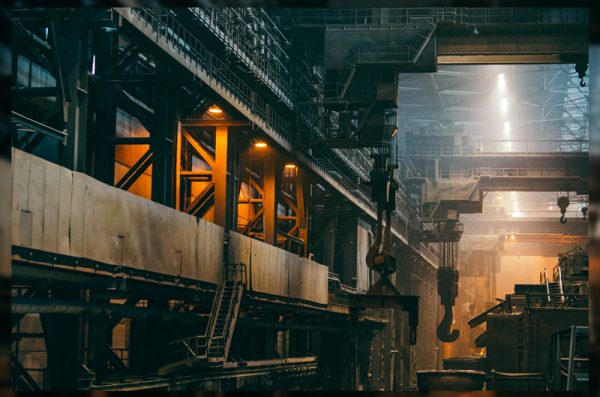
The light will not always be perfect while shooting architecture. For Ex. if you are shooting an industry or historical monuments, chances are there that the lighting may not be in your favor.
You will have to use some special techniques like bracketing or filling of light using external sources or maybe using composites. These techniques require knowledge of the process and techniques used.
-
-
Bracketing
Bracketing is a process in which the photographer takes multiple shots of various exposures(under, over & proper) and uses all of them to get the shadows, highlight and mid-tones in the photographs right.
Shooting is a major half of the final result but processing them right plays an equally important role too. Processing of these shots is done in multiple layers hence understanding the software is necessary.
-
-
Compositing
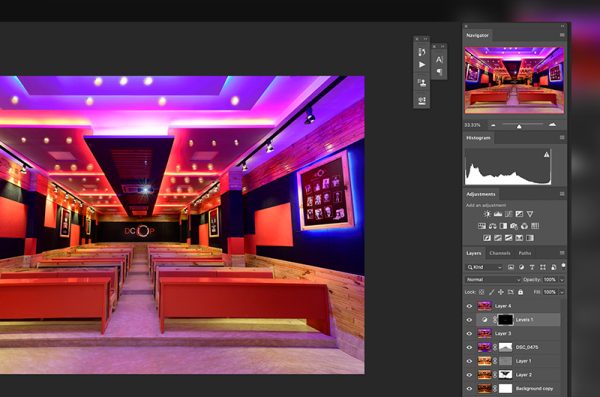
Bracketing is a process under which the photographer takes multiple shots of various exposures(under, over & proper) and then uses all of them to get the shadows, highlights and midtones right in the photographs.
Shooting is a major half of the final result but processing them right plays an equally important role too. Processing of these shots is done in multiple layers hence, understanding the right software becomes necessary.
-
-
Use of tripod
A tripod is necessary equipment to be included in the kit of an Interior and architecture photographer. Having a tripod will help you keep the orientation and alignment straight. If you are going to shoot multiple exposures or make a composite, it is almost impossible to get the perspective correct without a tripod.
A tripod helps you in keeping the angles and orientation right as well as making your composition correct. Tripods come with a variety of heads therefore selecting the right head is also very important.
-
-
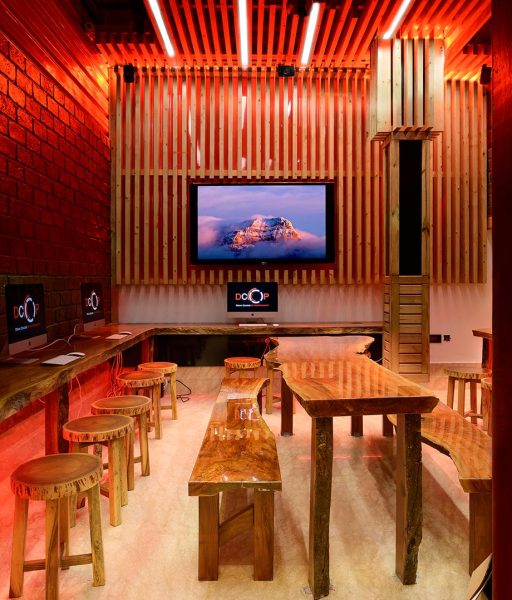
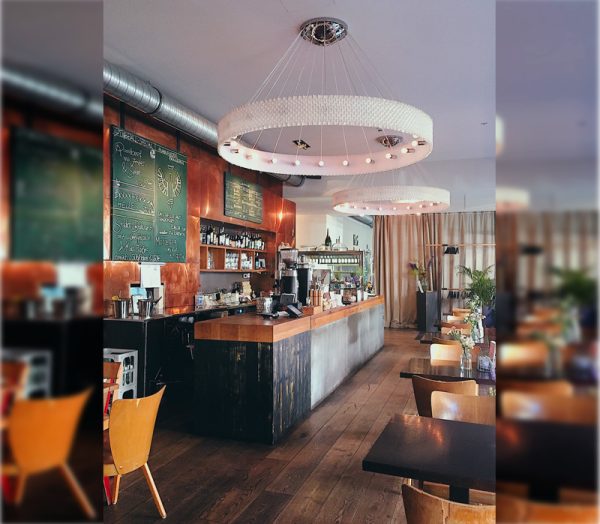
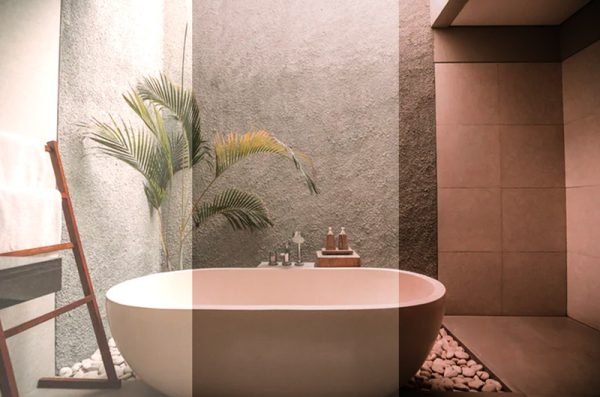
Adding elements
Adding an element in the interior photographs could add more drama and bring out the overall feel of the space even better. Sometimes the photographers face difficulty when the space looks empty and there aren’t many props around to play with.
In situations like these, one can try adding elements later in post-processing. You can place them strategically in the pictures to make them visually appealing.
-
-
HDR
HDR stands for High Dynamic Range. In these kinds of photo shooting, different kinds of exposure is a common practice. This is done to retain information from the shadows and highlights in different situations
In HDR three different exposures are taken for any composition, an overexposed, one properly exposed and one underexposed photo is taken for different information in different places. These photos are later merged to create a photo that looks very sharp and of very high quality.
-
-
Depth of Field

In Architecture and Interior photography it is usually preferred to shoot at or beyond the sweet spot of the lens. Photographers usually prefer f/11 because post f/11 the images have a relatively large depth of field and that’s sufficient for most of the architecture photographs. If there are elements like some detailing in the design then it is required to be shot with shallow depth of field sometimes and is added later in the final photos. Hence, the depth of field plays an important role when it comes to choosing between the kind of shots required.

Medium Format Photography
- History of Medium Format Phtotography
- Introduction Medium Format photography
Camera body and lenses
Image resolution
Raw image vs different formats
Megapixels - Introduction to the Functionalities
of a Medium Format Camera
Exposure composition
Metering
Focusing modes - WHITE BALANCE
Understanding color temperature - COMPOSITION
Angles
Framing - Software
Intoduction to Phocus
Shooting using Phocus - STUDIO LIGHTING
Day outdoor shoot
Working with strobe lights
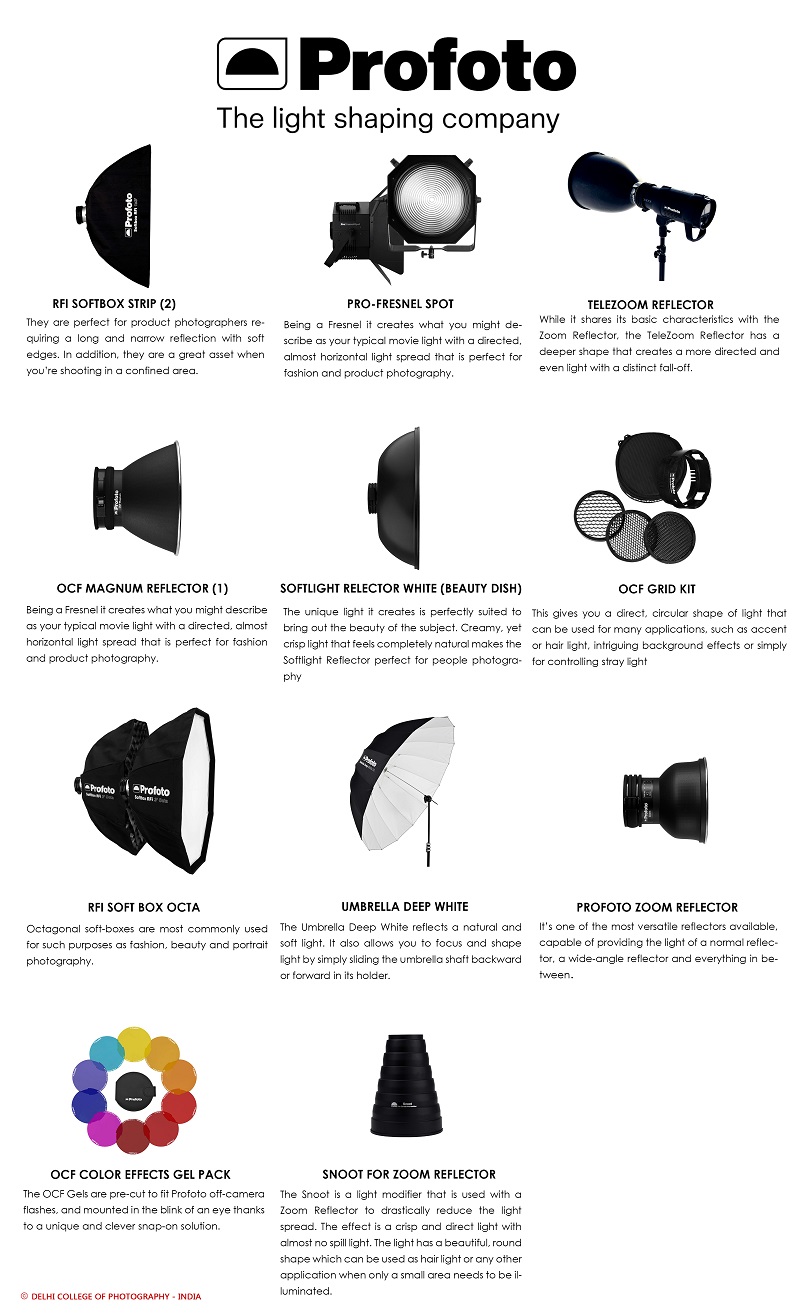
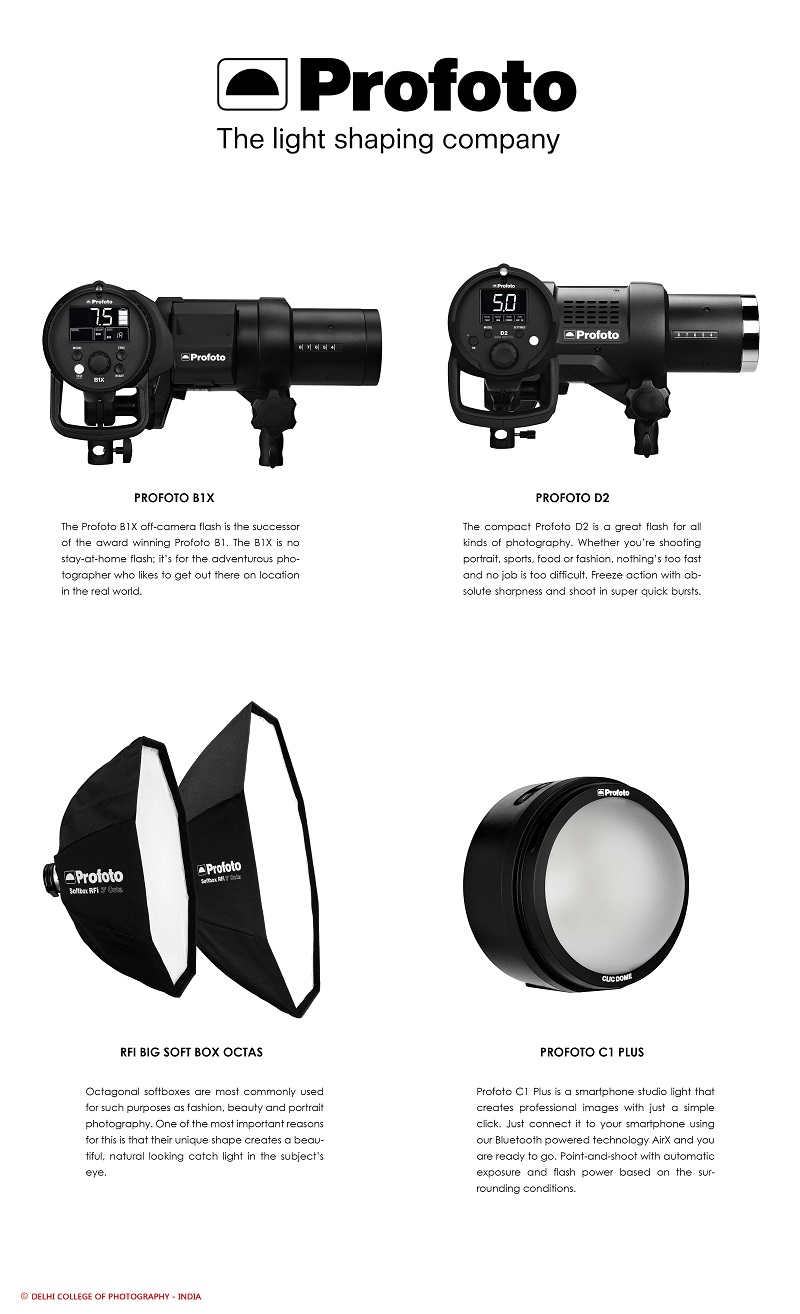
Light modifiers: reflectors, soft boxes, umbrellas, and etc.  PRODUCT PHOTOGRAPHY
Using Various lighting techniques
Setting up the studio Lights
Shooting conceptual photographs
Shaping of Light on various products- FASHION PHOTOGRAPHY
Using various lighting modifiers
Shooting high quality fashion photos - Photo processing
Processing using Phocus
Converting into various formats Photoshop


-
-
Advantages of Medium Format
Higher Quality Images :
We already think DSLRs and mirrorless produce “high-quality” images, but the larger sensors on medium format cameras offer even more or bigger megapixels. The larger image area on medium format cameras can produce around 70% bigger and higher quality photos compared to those taken with full-frame cameras.
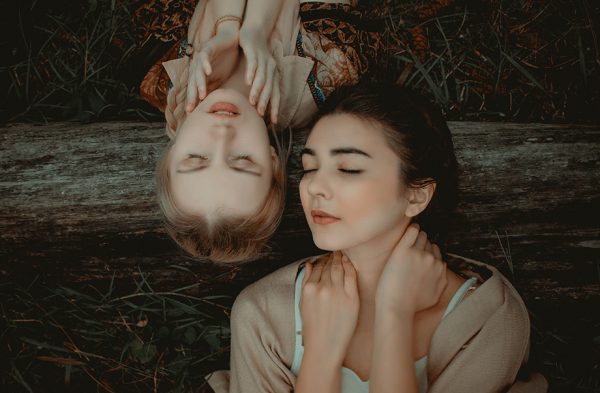
Shallower depth of field :
There’s a reason portrait and wedding photographers from the ‘70s to ‘90s were all about medium format. There’s just something magical about the falloff and depth you can get, making them a natural choice for portraits.
Distinct Look and Feel :
Even when viewing medium format images on the web, it’s signature “look” is apparent. There’s nothing quite as beautiful and realistic as medium format images due to their amazing colors, shallow depth of field, and lack of perception distortion that we usually see from today’s cameras. The resulting image always offers a more natural view, similar to what we see in real life.
Wider Field of View :
Medium format cameras have the unique capability to combine the features of a wide-angle lens and a long lens all in one device. While it allows you to get a wider field of view, you also get the background compression and shallow depth of field that you would get with a long lens.
-
-
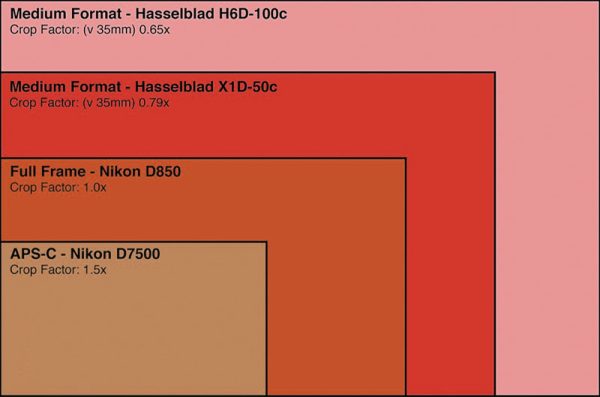
Sensor Size
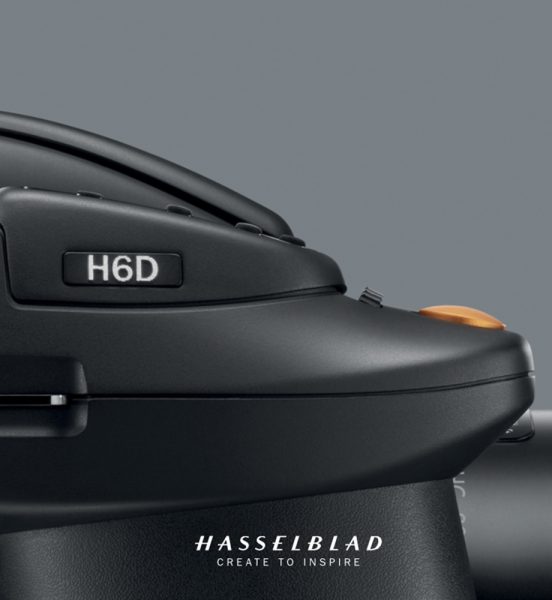
Bringing well-rounded shooting capabilities to the medium format realm, the Hasselblad H6D-100c revolves around an impressive 100MP 53.4 x 40mm CMOS sensor to produce high-resolution stills as well as UHD 4K video. Making use of the CMOS design, this sensor affords a wide sensitivity range of ISO 64-12800, along with 16-bit color depth and a dynamic range of up to 15 stops to maintain notable detail and quality when working in the most difficult lighting conditions.
Coupled with an enhanced electronic platform with faster processing capabilities, continuous shooting speeds up to 1.5 fps are possible, as well as the ability to shoot both UHD 4K and Full HD video at 30 fps in the Hasselblad RAW format.
-
-
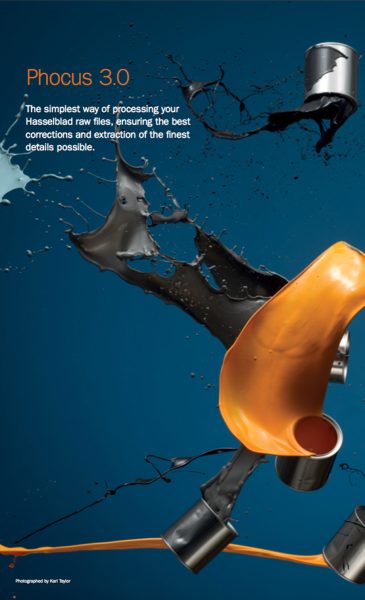
Phocus

Phocus 3.0. is a software used to process image files and it’s had an overhaul and loads of updates to make it easier to use and more accessible. This software, for Hasselblad users, can control the camera and deal with image files.
The graphical user interface offers a clean and uncluttered workflow, making it easier for users to find their way around more quickly and simpler than before
-
-
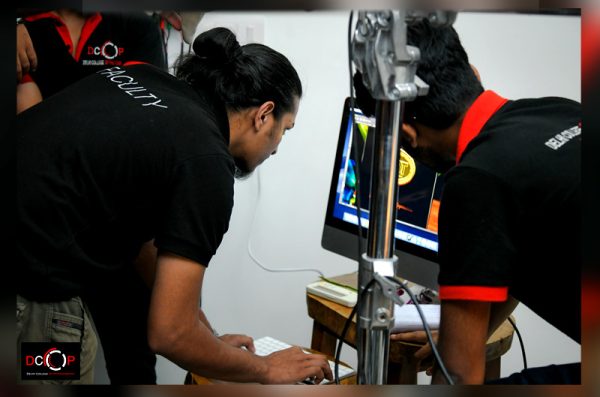
Tethring
Tethered shooting using Hasselblad lets you shoot with complete perfection. Connecting it to Phocus lets you control the entire functions of the camera like focusing, metering, white balance control, etc. using the software itself.
It doesn’t only let you shoot using the tethered medium but also lets you correct the images right after every shot. Tethering makes the overall shooting process smooth and organized.
-
-
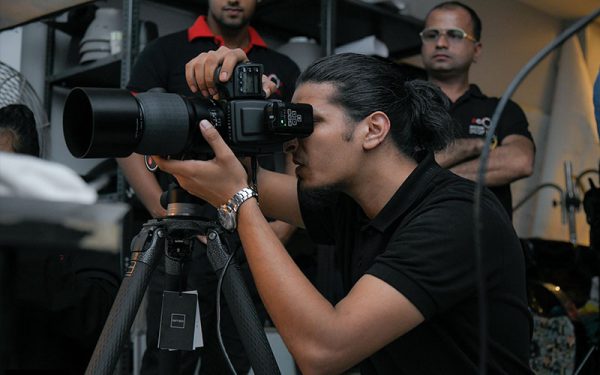
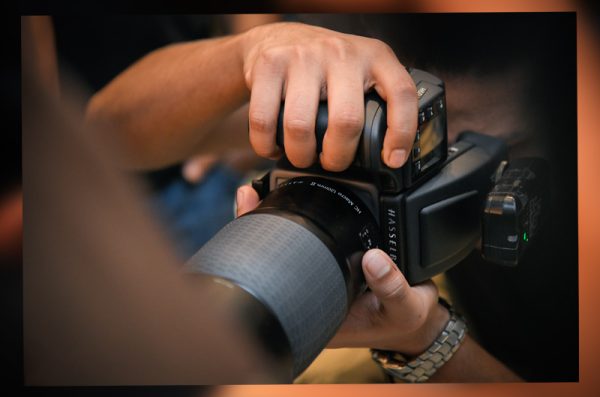
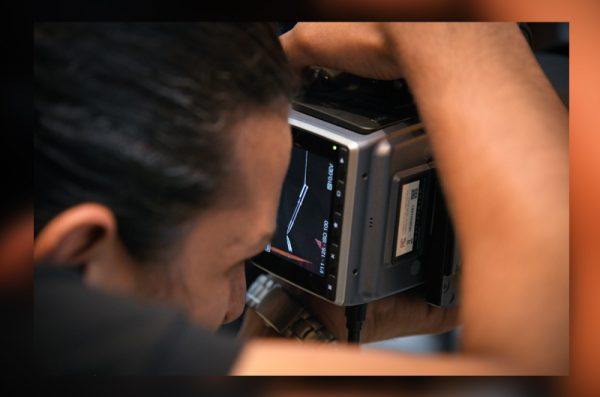
Shooting Process
While shooting with a digital Medium Format camera the process becomes a little tricky. It is not like shooting with a normal DSLR but a little tricky and complicated.
The modern-day medium format cameras are very advanced and user friendly. Even then, it is required to follow specific steps to achieve the best result. Setting up the right light, operating the camera and using its functions to maximum optimization is not easy.
-
-
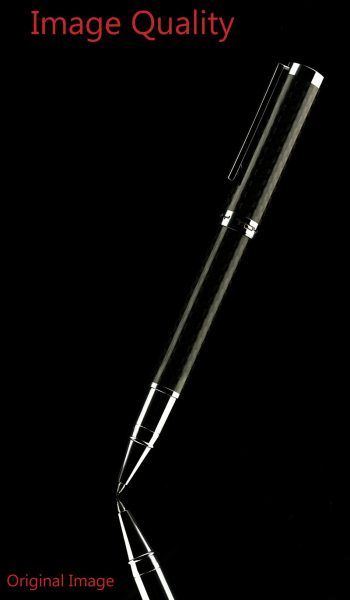
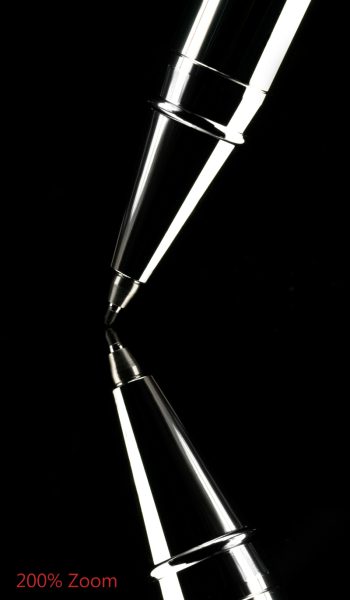
Product Photography
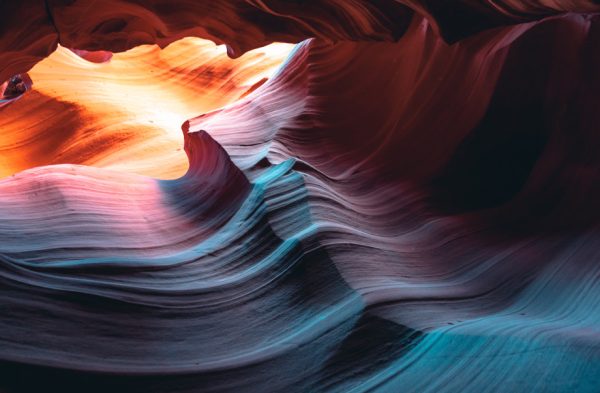
Shooting products with maximum details and to be able to print them in a really large size could only be achieved by a medium format camera.
A medium format camera is capable of shooting with the finest quality possible and creates extremely sharp and highly detailed photographs. All professional photographers shooting for commercial campaigns mostly prefer a medium format camera to achieve the best quality.
-
-
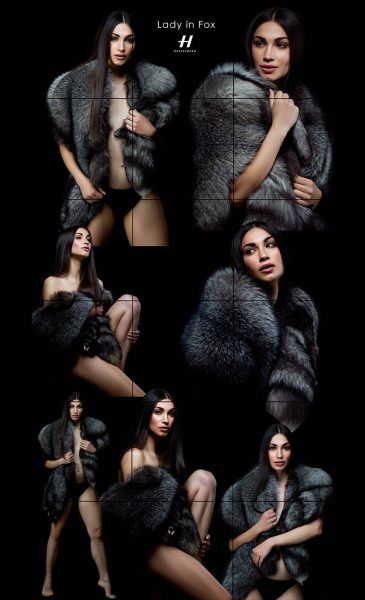
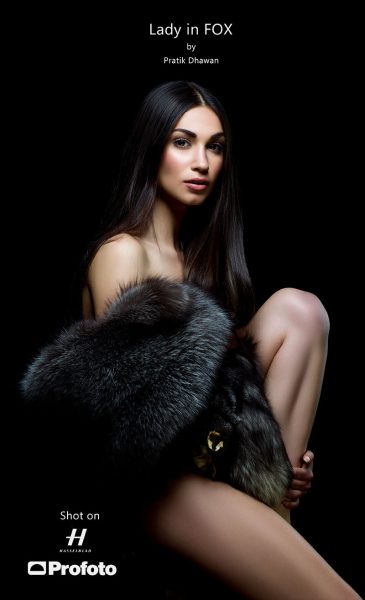
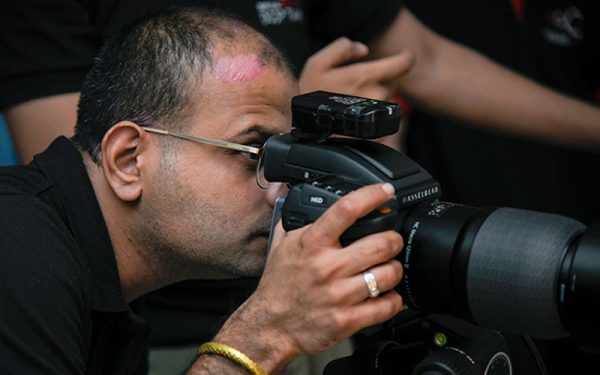
Fashion Photography
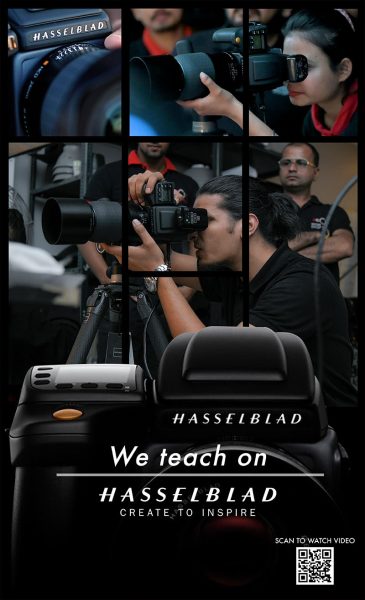
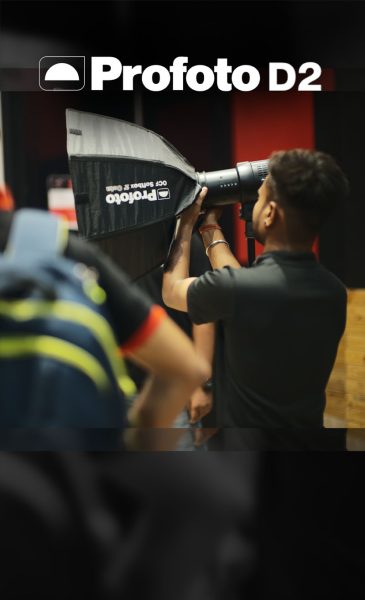
In Fashion photography understanding the light is, by far, the key feature to produce and create marvelous works, for when you understand how light works and what exactly it does, you will be able to manipulate it, to embrace it, and think of what you can do with it, to shape it according to your needs, regardless if it is a spotlight or sunlight. Those are the best ingredients to create stunning images instead of struggling to get the look you’re after.
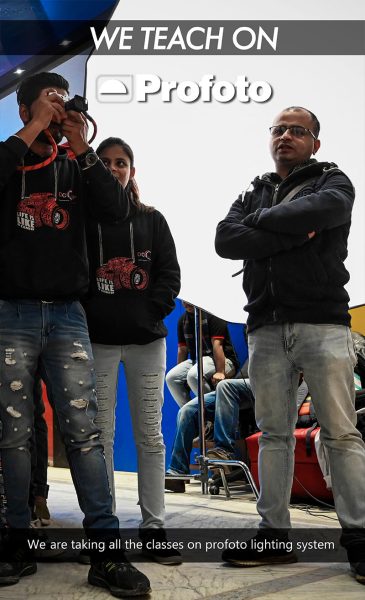
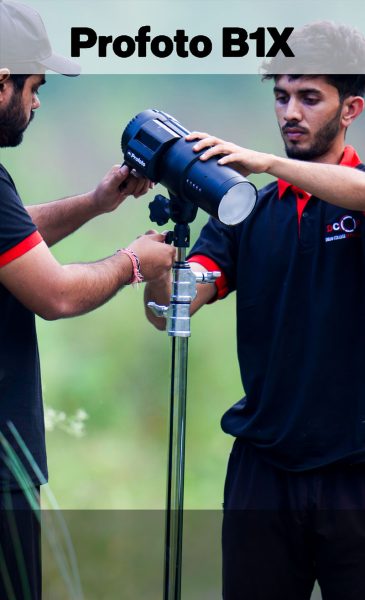
We use Profoto lights with a 100 megapixel H6 D camera from Hasselblad. That what the professionals in the industry use, hence training in the most professional workflow is given to students.
-
-
File Format
File format plays a very vital role when it comes to using a picture on various platforms and mediums. The raw files in medium format vary from camera to camera of different manufacturers. The Hasselblad produces.RF files which could only be read by ‘PHOCUS’ or Photoshop if the plug-in is installed. These files are to be corrected initially on Phocus and depending upon their usage they should be exported in the desired format (Web upload, printing, high res. files for the stock, etc.).